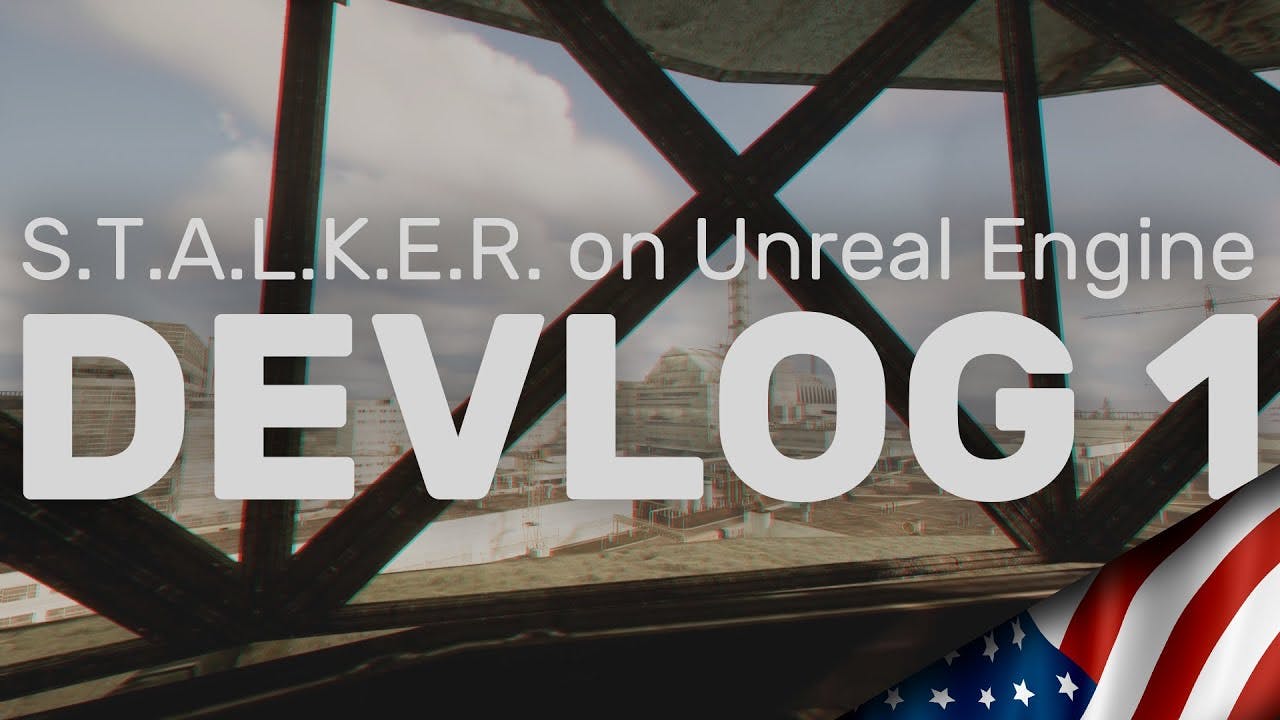
DEVLOG 1 - First release of the editor!


The first thing to understand is that this is not a release, it's another build, but now shipped with the editor.
Editor release
Yes, you can already engage in your shenanigans, creating locations entirely in the engine's editor, including meshes, spawns, AI grids, and waypoints. Compilation of all this mess happens right in the editor.
Moreover, as promised, the editor includes maps from the entire trilogy. However, locations from Clear Sky and Call of Pripyat are in a raw state without processing, textures, just a raw import from the original.
An immediate question from the audience: "Can locations from other projects, like the Zone Reclamation Project, be imported?" Yes, they can. However, locations made for the original editor usually have large meshes baked into them. Because of this, when importing "as is," Lumen in Unreal Engine won't understand such tricks and won't be able to properly calculate and bake lighting. Lod models are also affected. When generating lods and attempting to generate Nanites, the model simply collapses into a point. It might collapse completely or partially. That's exactly why optimization hasn't been achieved yet.
Possibilities for modders
The second question from the audience: "Can narrative modifications already be made?" Yes, they can - everything is done the same way as before. However, cutscenes, for example, can now be created directly in the editor. Everything else remains the same. So if the author or authors have a burning desire, they can start working on modifications right now. You can even comfortably port existing modifications if you want.
And yes, anticipating a likely question, I'll say it right away: you can import anything into the engine, even assets from Quixel - everything will work. As for the editor, that's all for now.
Fixed bugs and build features
Now let's talk about the Shadows of Chernobyl game build. The first and most important thing is that the game is now launched not through a .bat file, but directly from the .exe file. So making a mistake is out of the question.
The entire game can now be played from start to finish - the entire storyline is in place. However, occasional crashes may occur due to GSC's hacks, which might have worked in the original X-Ray engine but produce some artifacts within Unreal Engine. However, despite this, the game is fully playable, and, more importantly, the save function works, which negates the crashes. The only thing is that the weather and time of day are still fixed, as restoring the day-night cycle with weather is not a priority task.
The menu now works completely, and yes, it's been redesigned - it's a whole separate scene. Looks nice, right? By the way, from the main menu, you can press the N key to access the spawn menu - the Zone Master Gold version 5, where you can conjure up anything you want as usual. But there's one catch. Level switching from under this menu is disabled. To jump between locations, use the console and the xray.jump_to_level command.
Unpleasant features
Now let's talk about the less pleasant aspects. Firstly, it's still a dev build. This means that the performance will be on par with the previous build. I won't do anything about it for now.
Secondly, the system requirements haven't changed. To achieve a stable framerate of 60+ frames per second out of the box, you'll need a graphics card no lower than an RTX 3060 Ti, RTX 2070 Super, or an equivalent from AMD. If your hardware falls short, you can try tweaking the settings (this was mentioned in the previous blog post).
Thirdly, particles are not working yet. They work fine in the editor, but the following issues arise from this:
- Anomalies are not visible
- Poltergeists
...and other minor things
Performance recommendations
For comfortable gameplay at Full HD resolution, a graphics card no lower than RTX 3060 Ti is recommended. If your hardware is weaker, you can run the game in windowed mode instead of fullscreen or make changes to the settings file to improve performance:
[ScalabilityGroups]
sg.ResolutionQuality=100
sg.ViewDistanceQuality=3
sg.AntiAliasingQuality=3
sg.ShadowQuality=3
sg.GlobalIlluminationQuality=3
sg.ReflectionQuality=3
sg.PostProcessQuality=3
sg.TextureQuality=3
sg.EffectsQuality=3
sg.FoliageQuality=3
sg.ShadingQuality=2
Replace 3 with 2 in these lines. This will improve performance. Plus, you can disable anti-aliasing (if your eyes are not as sensitive as a baby's and don't get bothered by jagged edges). To do this, simply replace sg.AntiAliasingQuality=3 with sg.AntiAliasingQuality=0.
Game download and installation
- Download
- Download the Setup Wizard - https://s2ue.org/ (opens in a new tab)
- Installation
- If you downloaded the repack, run
Setup.exeand follow the installation wizard instructions (just make sure the installation path does not contain Cyrillic characters).
- If you downloaded the repack, run
- Launch through
Stalker.exein the game folder or from the desktop shortcut
If you downloaded the archive, you'll also need to download and install OpenAL 1.1 (opens in a new tab) (OpenAL 1.1 Windows Installer).
Minimum system requirements
- Operating System: Windows 10 20H2 64-bit or newer
- Processor: Intel® Core™ i5-9400F / AMD Ryzen™ 5 2400G
- Memory: 16 GB RAM
- Graphics: NVIDIA GeForce GTX 1660 Super / AMD Radeon RX 5600
- Storage: 6 GB SSD - for the game / 256 GB SSD - for the editor
Editor download and installation
- Download and install Unreal Engine 5.1
- Download and extract STALKER on UE
- Launch
Stalker.uproject
Acknowledgments
Material prepared by Red Panda, edited and voiced by Last Day Alive, blog text adapted by PSI.
Troubleshooting and community
You can solve any issues and ask questions on our Discord (opens in a new tab) server.